The 30-Second Highlighting Trick for a More Sculpted Look
At a Glance
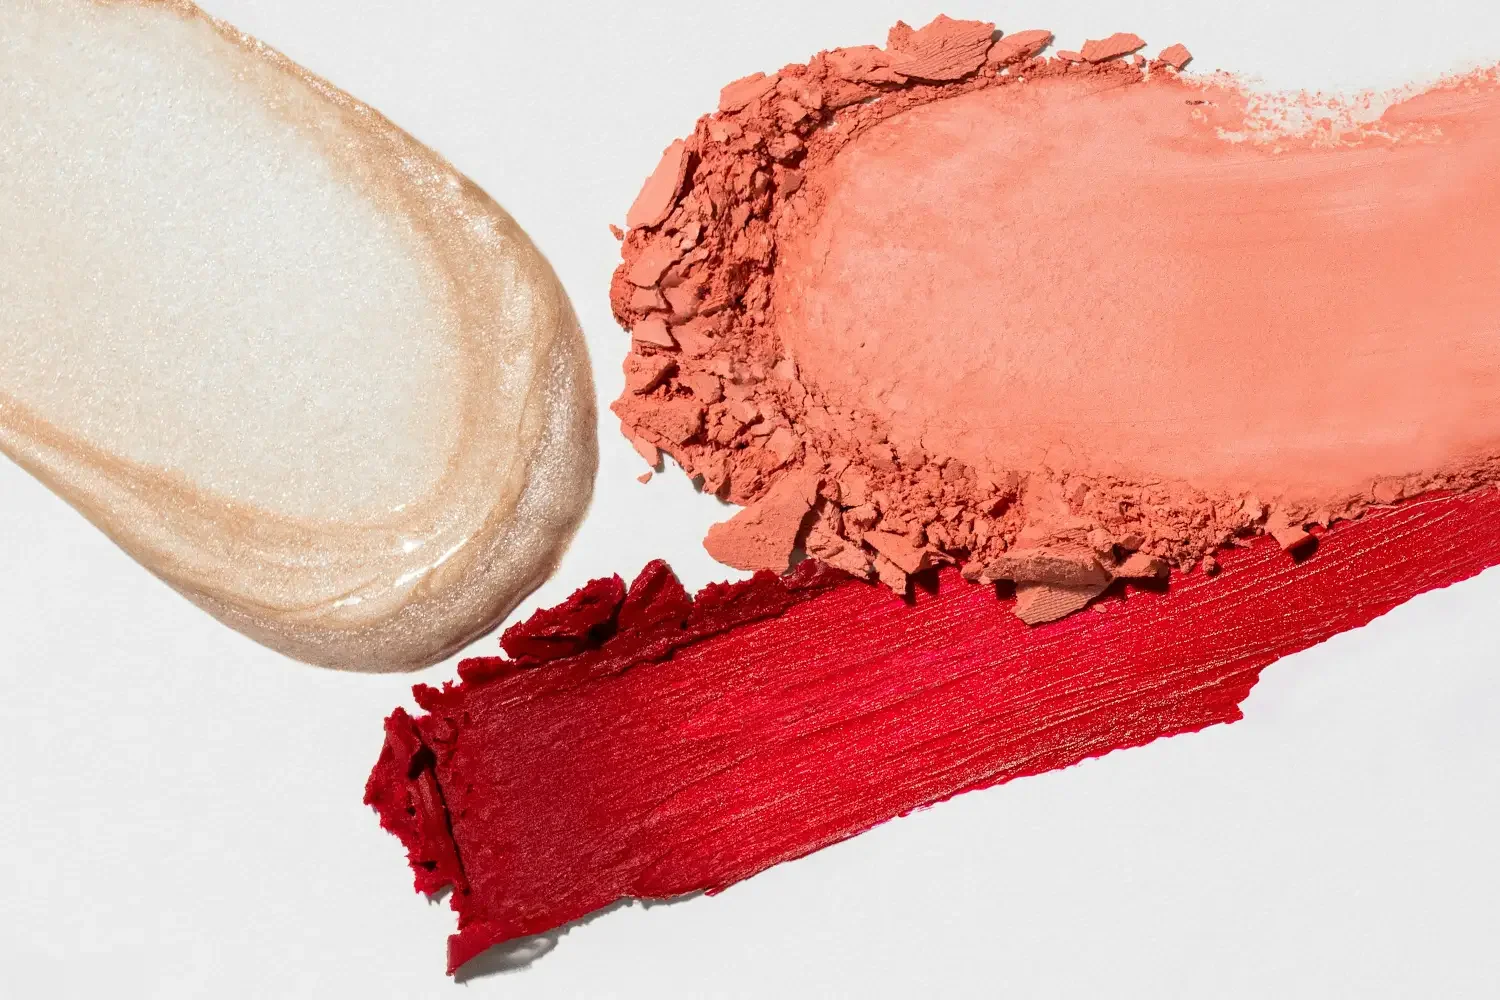
Click a point below to jump to the details.The power of minimal makeup. Using light to enhance symmetry and radiance. (Image: AI-generated)
When we think about highlighting, many of us envision a broad sweep of shimmering powder across the cheekbones.
By focusing on just two critical points on the face, you can create an optical illusion of a more refined structure and an awakened gaze. This technique relies on the way light hits the most prominent features of your face, drawing attention inward and upward to create a lifting effect.
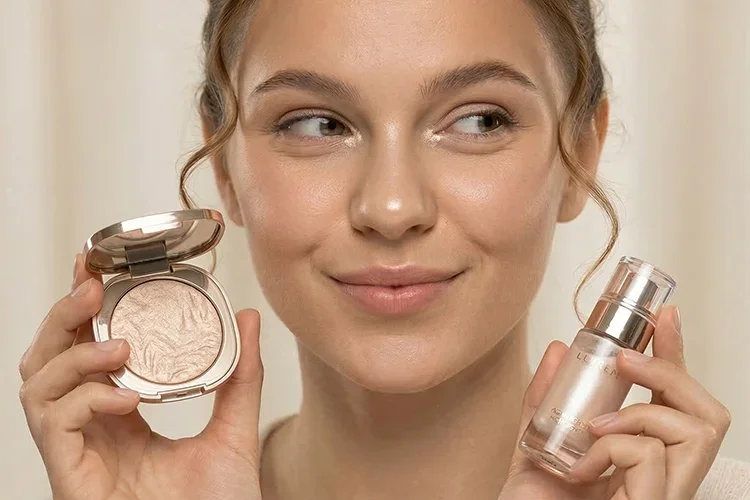
Choosing the best long-lasting highlighter for inner corners is the first step in ensuring this effect stays vibrant throughout your day without creasing. It is about working with your natural bone structure rather than masking it.
The Instant Eye-Opening Magic of Inner Corner Highlights
The inner corner of the eye, often referred to as the tear duct area, is one of the most transformative spots for makeup application.
When you apply a shimmery or satin-finish product to this tiny area, it mimics the natural moisture of the eye, giving off a healthy and alert appearance. Comparing liquid vs powder highlighters for a natural glow can help you decide which texture will sit most comfortably on this delicate skin area without irritating it.
Video Credit: Lordthivii
Sculpting the Perfect Nose Tip with Minimal Effort
The bridge and tip of the nose are central to our facial symmetry. Instead of a traditional harsh contour line that can look muddy, a single point of light on the very tip can create a "button-nose" effect.
By highlighting the tip, you are creating a focal point that makes the nose appear shorter and more lifted. If you want to go a step further, a tiny vertical dash just above the bridge can elongate the nose slightly, but the tip remains the priority for a youthful look.
Opting for a champagne hue for fair skin or a deeper bronze for warmer complexions ensures the glow appears as if it’s radiating naturally from within.
Video Credit: Elaine Park
Watch from 4:00 to 4:20 for the key highlight technique.
Professional Tips for a Flawless Finish
To ensure your point highlighting looks intentional and polished, consider these simple guidelines:
Texture Choice
Creams generally provide a dewy, skin-like finish, while finely milled powders offer a more vivid reflection.
Application Tools
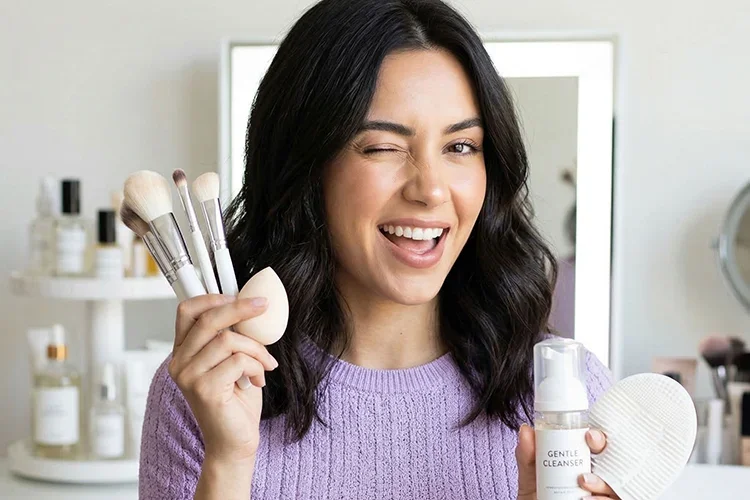
A small, dense brush or even your ring finger can provide the precision needed for such small areas.
Undertones
How to Choose the Right Product for Your Skin Texture
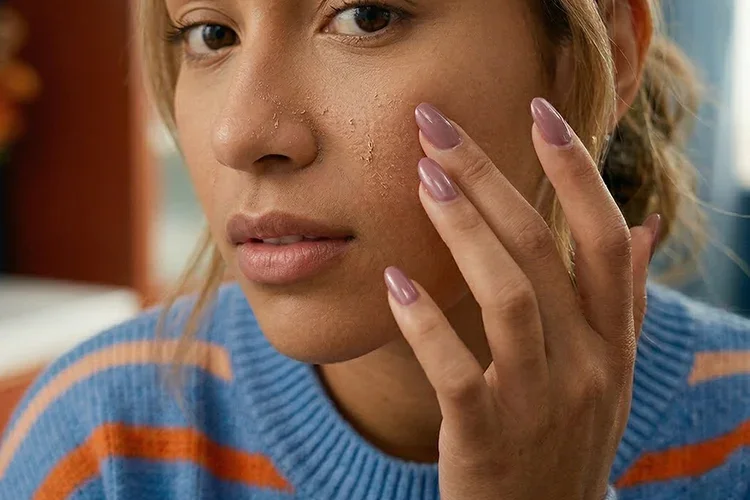
Not all highlighters are created equal, especially when applying them to the sensitive eye area or the potentially oily T-zone.
If you have dry skin, a cream-to-powder formula might be your best bet to avoid emphasizing texture. Conversely, those with oily skin should look for finely milled powders that won't slide around as the day progresses.
Finding the best drugstore highlighter for a subtle look is a great way to experiment with different shades before investing. Remember that the goal is a subtle shimmer, not chunky glitter, to maintain that professional, high-definition finish that looks great in person and on camera.
Frequently Asked Questions
-
It depends on your skin type. Creams and liquids offer a dewier, more natural "melted-in" look, which is great for dry skin. Finely milled powders provide a more intense reflection and better longevity, making them ideal for oily areas like the nose tip.
-
The key is precision and setting. Avoid applying highlighter to the entire bridge of the nose. Focus only on a small dot at the tip. Also, lightly dust the area with translucent powder to lock the glow in place without letting natural oils take over.
-
While it doesn't replace concealer, it significantly helps. By adding light to the darkest part of the eye area (the tear duct), it softens the appearance of shadows and draws attention away from the darkness, making you look much more awake and alert.
How to Lock in Your Glow All Day
Once you have mastered the placement, the longevity of the glow becomes the next focus. Because the nose is part of the T-zone where oil production is highest, setting your highlighter with a tiny amount of translucent powder helps maintain that fresh look.
This ensures that the glow you created at 8:00 AM stays exactly where you put it until the evening. Buying a high-end cream highlighter with a dewy finish can offer a beautiful "wet" look, but it requires a bit more care in setting than a traditional powder.
By spending just 30 seconds on these two points, you elevate your makeup from standard to expert, creating a face that looks sculpted, bright, and effortlessly luminous.
Sources & References
- [1] Makeup.com by L'Oréal (2025) "Strategic Placement Guide: Where and How To Apply Highlighter for a Radiant Glow." Official Beauty Guide
- [2] Byrdie (2023) "A Step-by-Step Guide on Exactly Where to Apply Highlighter." Professional Application Insight
- [3] Allure Magazine (2018) "The Expert Guide to Layering Highlighter for a Multidimensional Glow." Advanced Artistry Archive
Read Next