Blusher Placement Techniques to Sculpt Your Face Shape with Ease
At a Glance
Click a point below to jump to the details.Credit: Vlada Guzeva / Unsplash
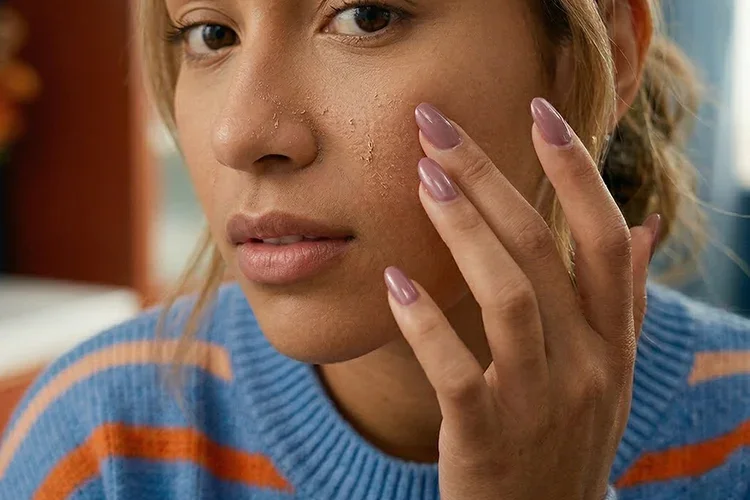
Ever finished your foundation only to feel your face looks a bit flat? You might just be missing the magic of blusher! Blush is far more than a simple flush of color.
Think of it as a sophisticated tool that uses light and shadow to redefine your facial structure. With a slight change in placement, you can achieve a dramatic effect—softening your cheekbones or defining your jawline in seconds.
Understanding Your 'Undertone'
In the beauty world, your skin’s undertone is a foundational factor. This refers to the subtle colors beneath your skin’s surface, rather than just how fair or deep your complexion is.
Whether you have a Warm undertone (yellow, gold, or peach) or a Cool undertone (pink, red, or blue), choosing a blush that complements these base colors is key. Selecting a shade that clashes with your undertone can sometimes make the complexion look a bit dull or muddy, regardless of the product's price tag.
The Art of Placement for Every Face Shape
The human eye is naturally drawn to areas of brightness and concentrated pigment. You can use this to your advantage:
Diamond Shapes
If you have prominent cheekbones, try starting your blush slightly lower than the highest point and sweeping it back toward the ears. This diffuses focus and softens strong angles.
Longer Faces
To add harmony to an elongated face, a horizontal application is a great trick to visually "break" the length and create a balanced look.
A favorite tip among makeup artists is the reimagining of the 'Apple Zone.' Instead of just smiling and dabbing, try using the intersection of your pupil and the tip of your nose as your starting point.
Generally, placing product too far below this invisible line can create a "drooping" effect. Instead, sweep the product upward along the orbital bone (the bone surrounding your eye) for an instant lift.
Credit: Harper Sunday / Unsplash
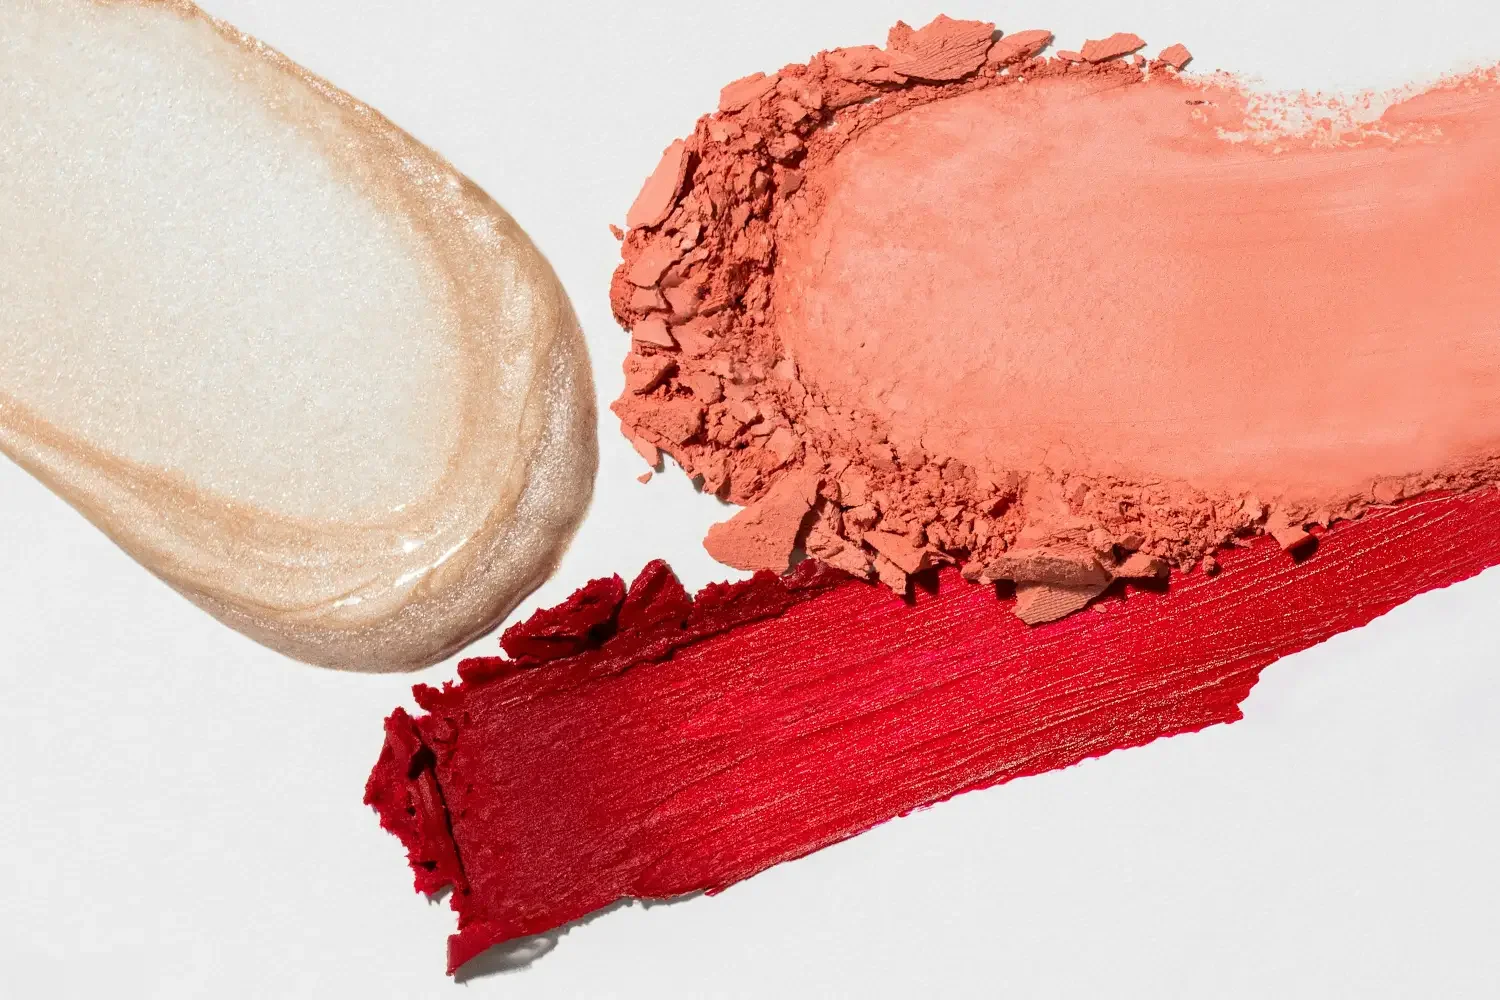
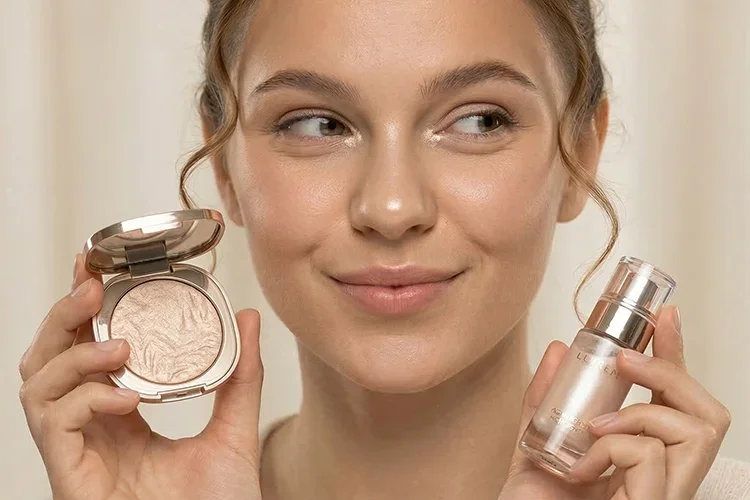
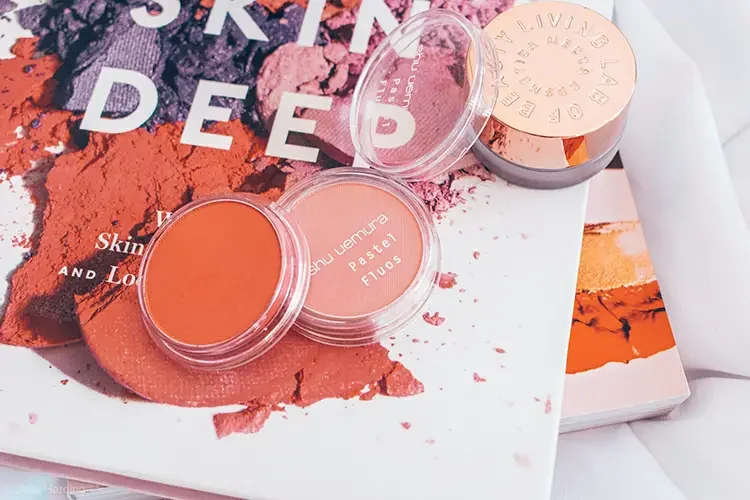
Choosing the Right Textures and Tools
For a flawless finish, the formula you choose matters as much as the color.
Cream Blushers
These are excellent for a dewy, natural finish as they mimic the skin’s natural moisture. Using the warmth of your fingertips to press the color in helps it blend seamlessly into the skin.
Powder Blushers
If you have oily skin or need your makeup to last through a long day, a fine-milled powder helps keep the finish matte and controlled.
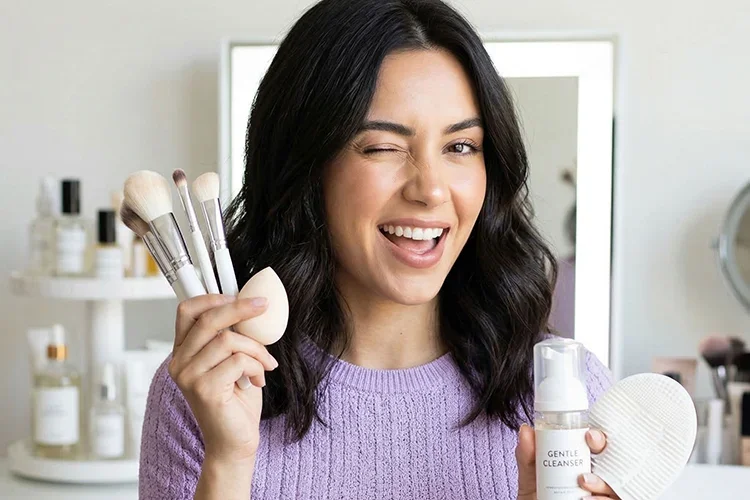
Tool Tip: An angled brush is ideal for hugging the curves of your cheekbones. If you prefer cream formulas, a latex-free sponge is perfect for pressing the pigment into the skin for a natural texture. However, even the finest brush will steak and muddy your color if it is clogged with old pigment and oils, so make sure to purify your makeup tools regularly to keep your blending seamless.
Color Theory for Tonal Correction
Blush can also be used to "correct" or balance your natural skin tone:
Coral or Peach
Helps neutralize sallow (yellowish) tones with healthy energy.
Lavender or Cool-Rose
Can help eliminate dullness, creating a luminous, transparent look.
Beige or Nude
If you struggle with natural redness, opt for these grounded tones rather than bright pinks.
Practical Tips from Daniella
Start Light
It’s always easier to add more color than to take it away. Tap off any excess product on the back of your hand before applying it to your face.
Check Your Expression
Try to apply blush while keeping a neutral facial expression so you can accurately see your natural bone structure.
The "Leftover" Trick
If you have a strong jawline, take whatever tiny amount is left on your brush and lightly dust your chin. This helps tie the whole look together.
Frequently Asked Questions
-
If blush falls below the line of your nostrils, it can pull your features downward. To keep things looking youthful and lifted, try to stay above that "red line" and blend upward toward the temples.
-
A velvet-finish powder blush is often the easiest to control. You can build the color slowly, and it’s less likely to move your foundation underneath compared to some cream formulas.
-
Yes! Glasses create a visual "break" on the face. Try placing your blush slightly further out and higher toward the temples so the color doesn't get "cluttered" under your frames.
The Bottom Line
Using blush to contour is a delicate balance of light and color. Understanding your unique face shape and undertone is a journey of self-discovery that empowers you to highlight your best features. With these simple shifts in technique, you can step out feeling more defined and radiant every day!
Sources & References
-
[1] Journal of Biomedical Optics (2024)
"Effect of skin color on optical properties and the implications for medical optical technologies"
Latest research findings on the variability of light absorption and scattering coefficients across different skin types.
Read Next